Project Whitemare
GTFO Squad
- Joined
- Nov 12, 2014
- Threads
- 43
- Messages
- 1,309
- Reaction score
- 1,011
- Location
- Bay Area
- Website
- www.instagram.com
- First Name
- Nick
- Vehicle(s)
- 2015 Mustang GT/PP
- Thread starter
- #1
STEEDA BILLET ALUMINUM VERTICAL LINKS
Tools Needed:
15mm Socket
18mm Socket
3/8" Drive Ratchet
Rubber Mallet
Difficulty Level:
2 out of 12 Beers
Parts List:
(2) Billet Aluminum Vertical Links
(4) Washers
(2) Energy Suspension Grease
Preparation:
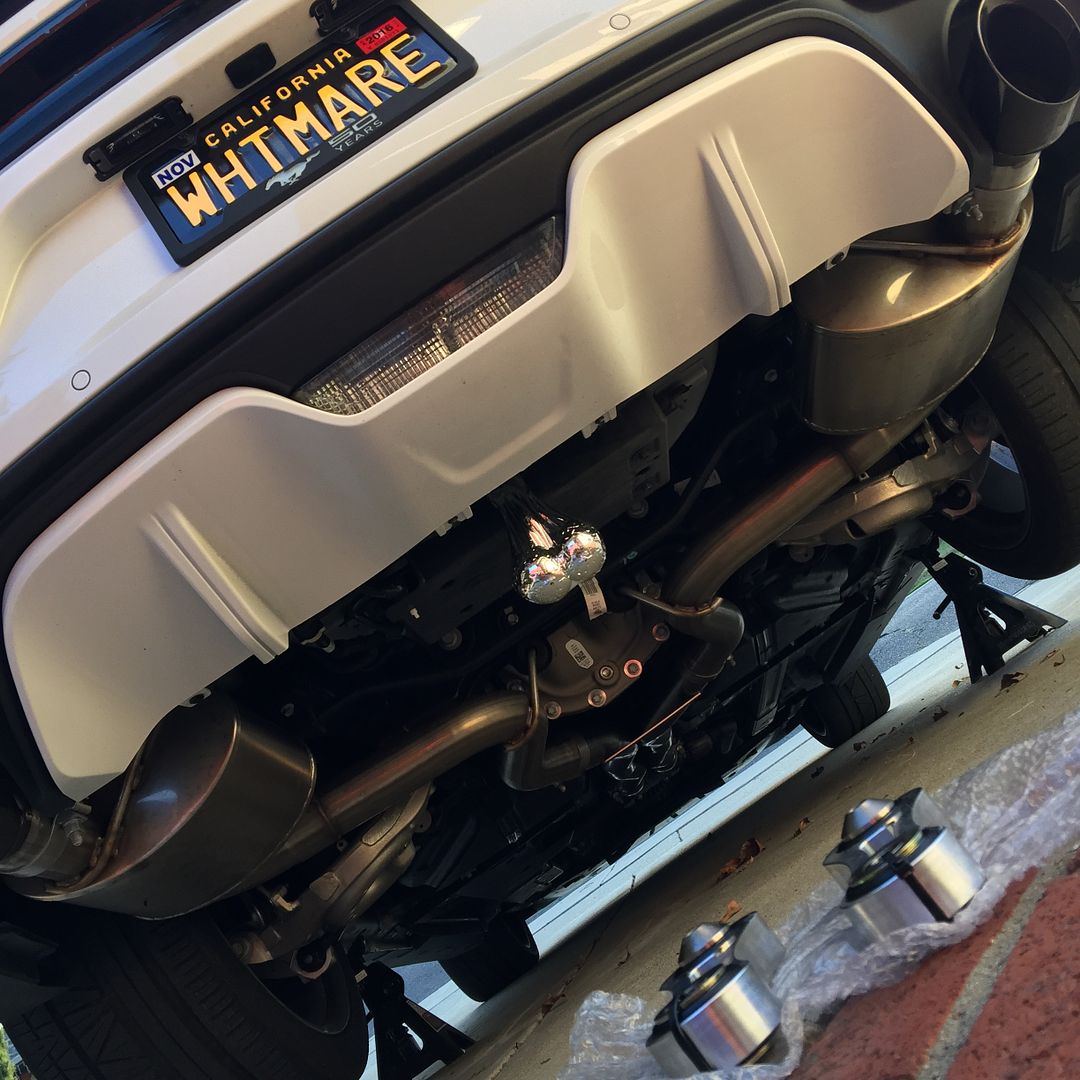
Use Steeda Jacking Rails to raise the rear end of the car and place it on jackstands. Remove rear wheels.
Video:
[ame]
Installation:
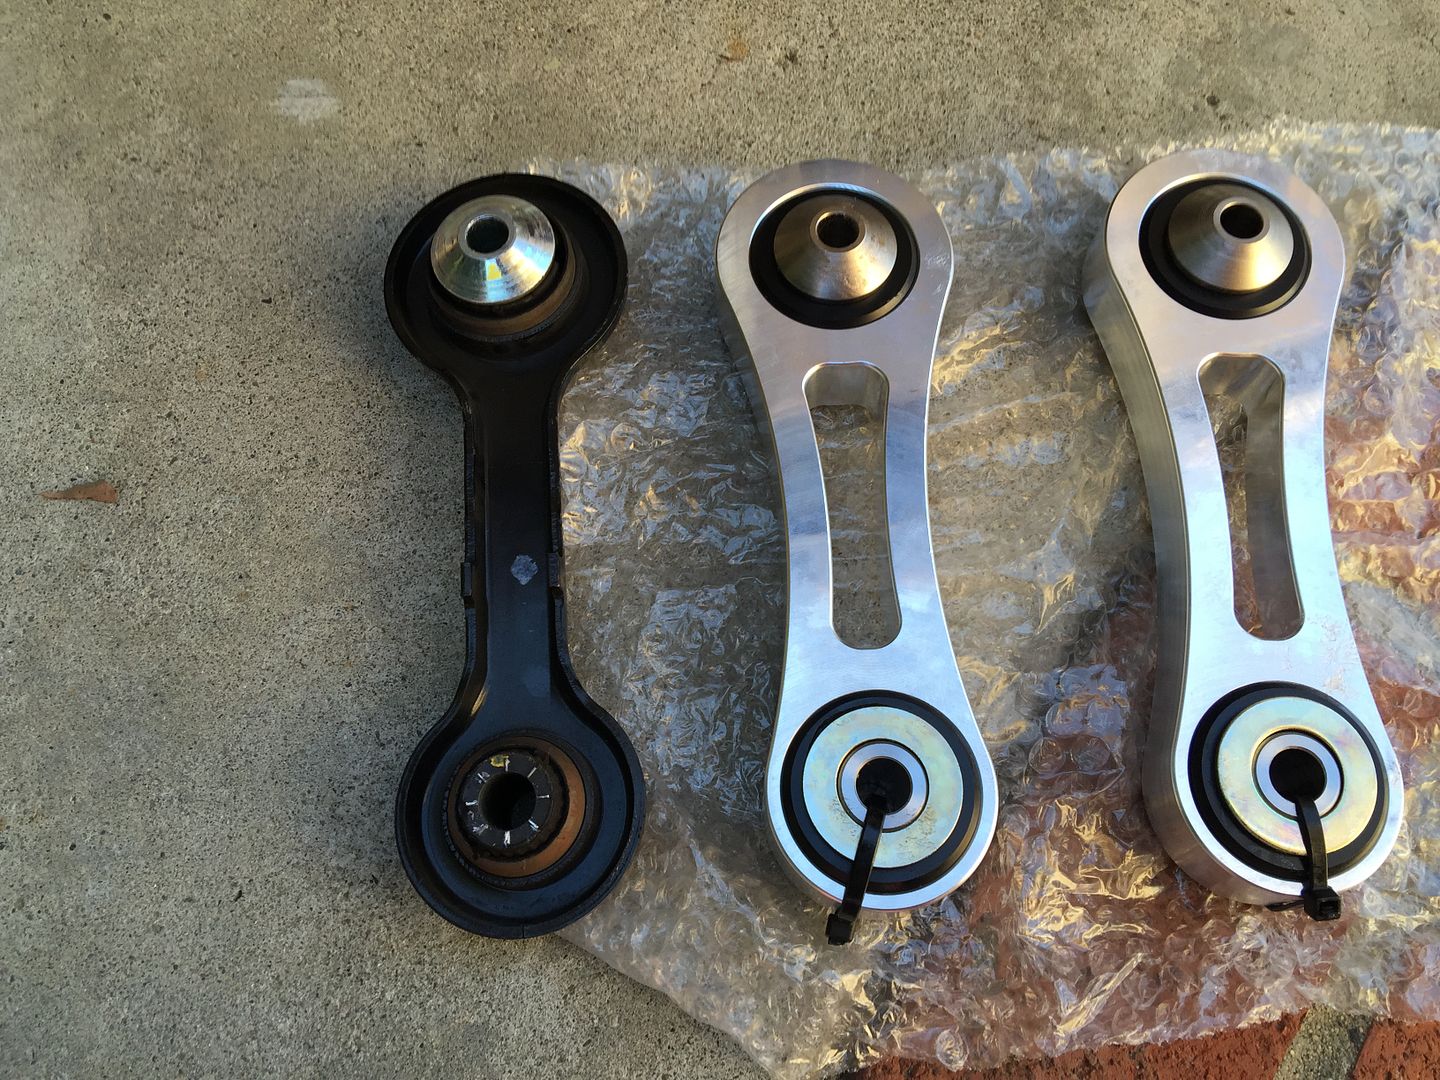
With the rear on jackstands, pull out the Steeda Vertical Links and inspect your parts.

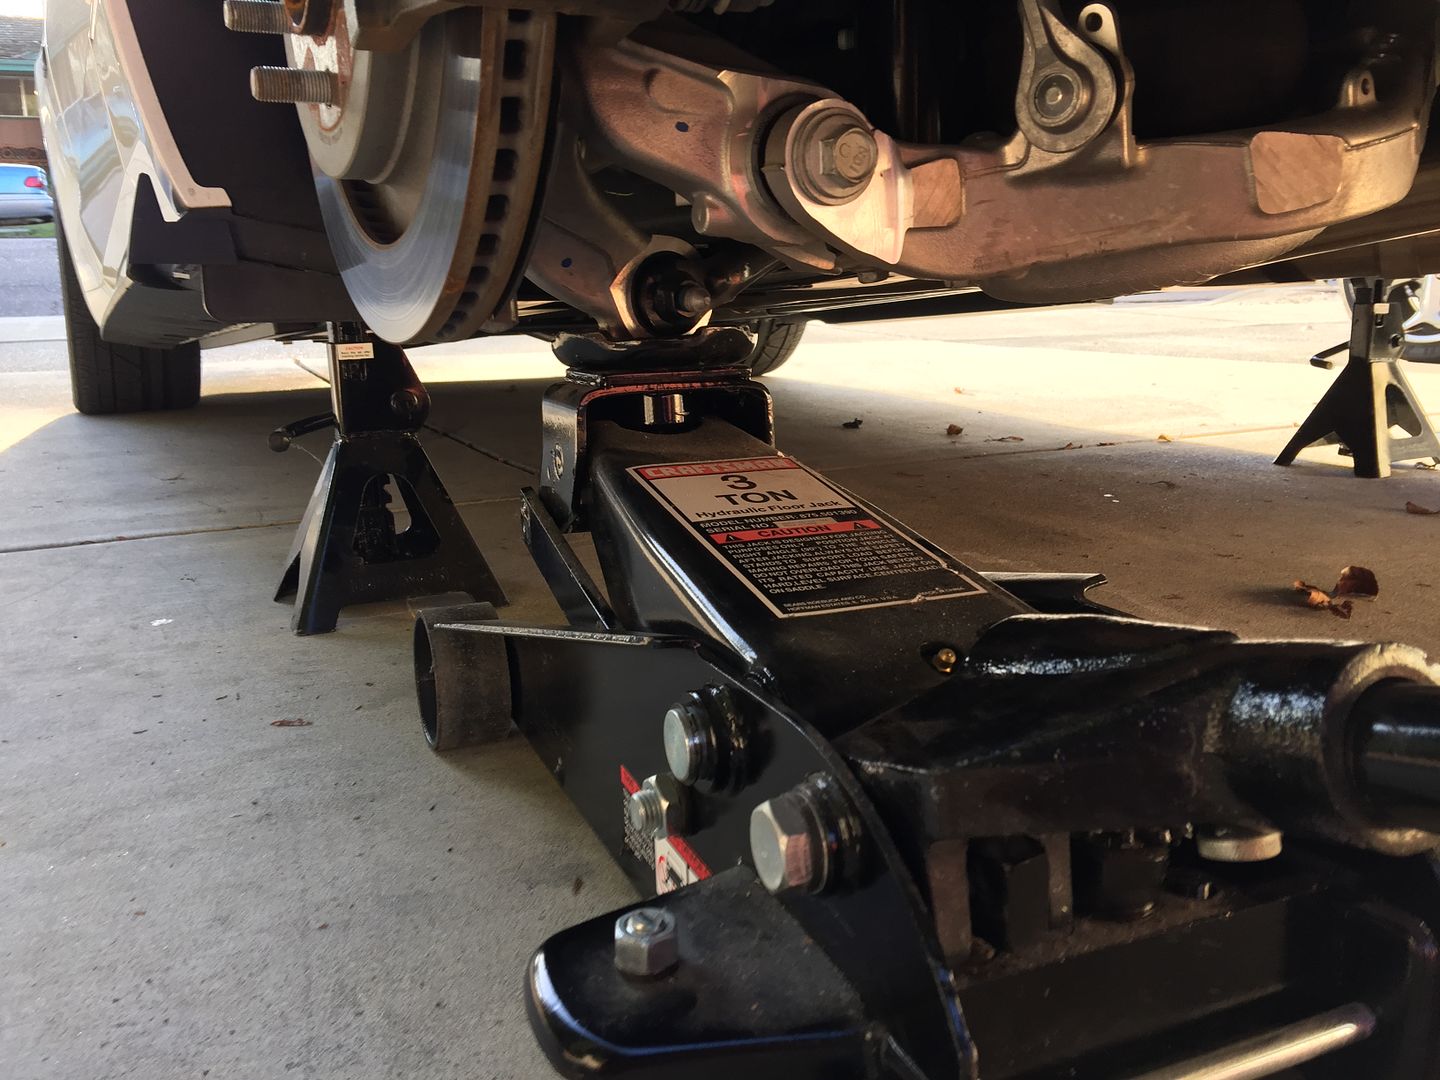
To insure that the lower control arm doesn't move when removing the OEM vertical link, place a jack under the rear knuckle where the toe link is mounted. Just enough to support the weight.
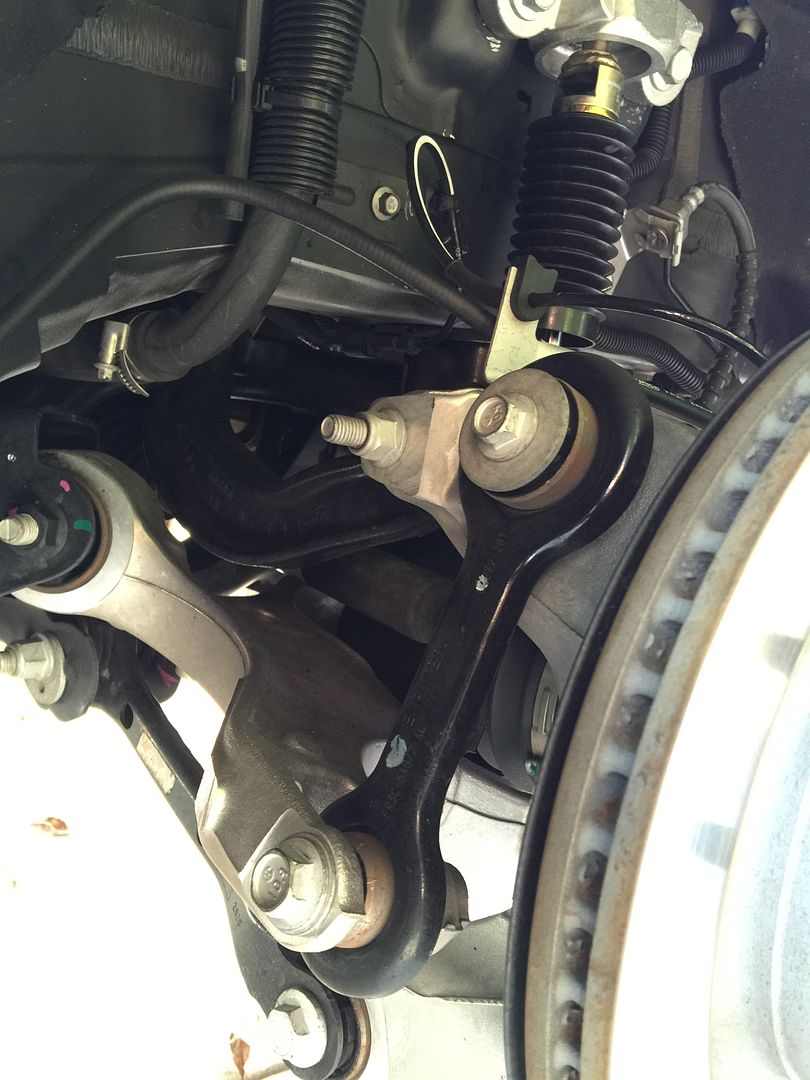
Remove the 18mm bolt from the bottom of the OEM vertical link.
Remove the 15mm bolt from the top of the vertical link and be sure to grab the retaining nut off the back of this bolt.
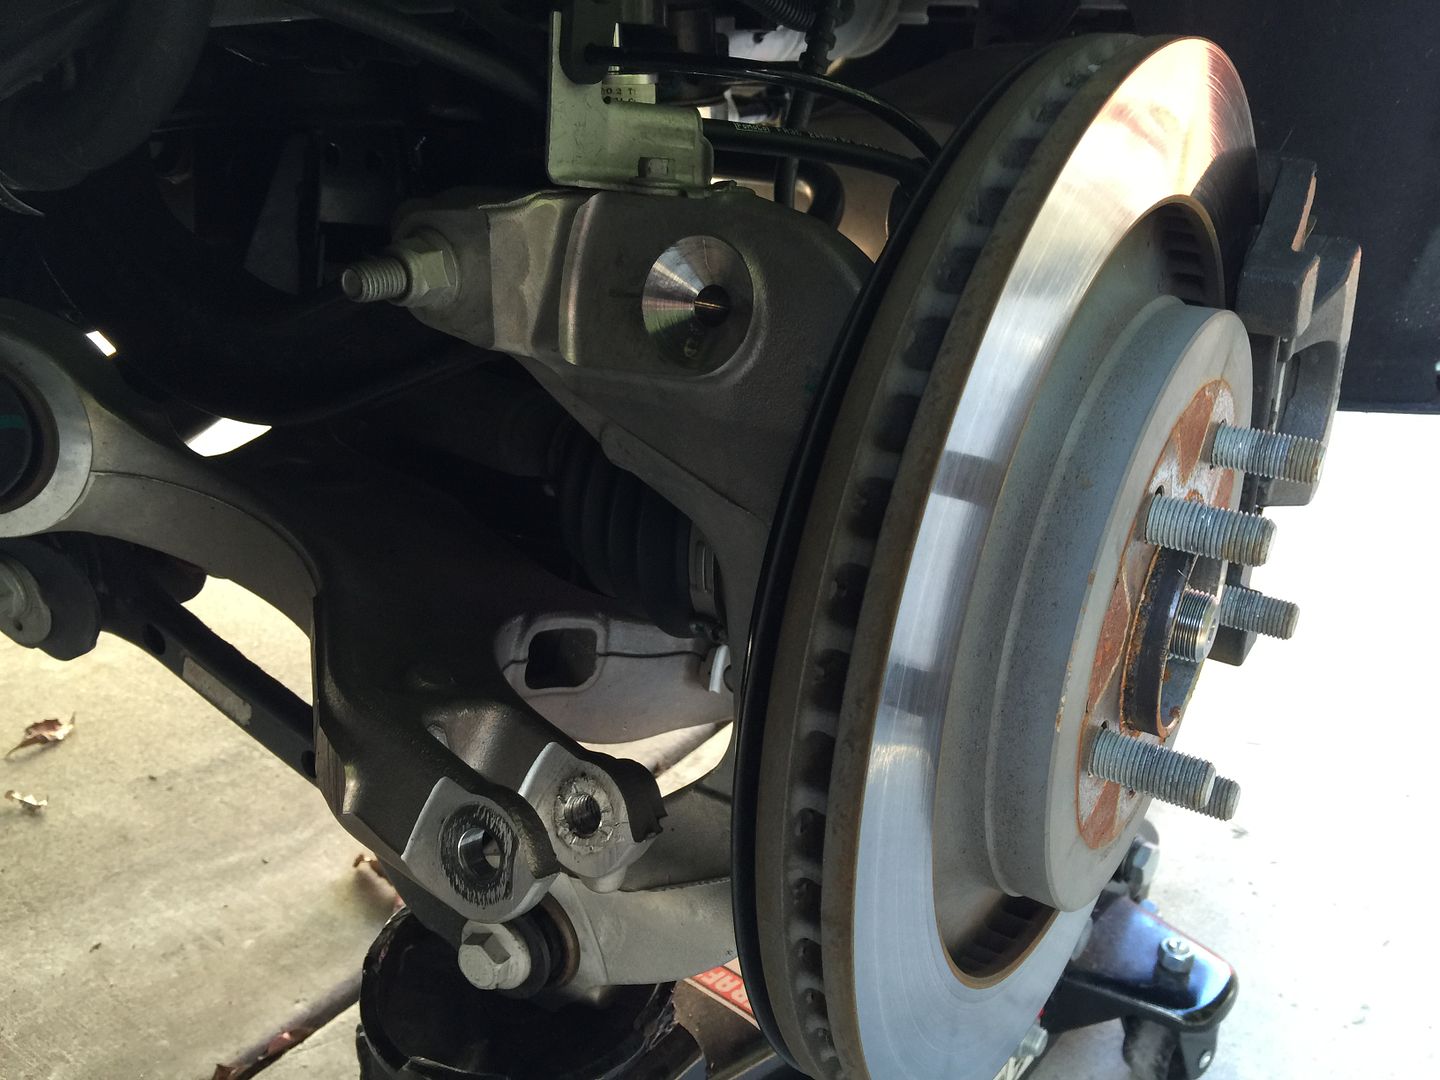
Moderate use of man muscle will be needed to wrestle the OEM vertical link from the grasp of the Lower Control Arm. A screw driver will also help as pry tool.
Obligatory pic of our flimsy lady link next to the man link that is the Steeda Billet Aluminum Vertical Link.
Sure these will get your ass down to the store to pick up some milk, but if you have higher demands for your car, than this upgrade is a must.
Now you wanna rip open one of the packs of Energy Suspension Grease and cream pie those bushings!!
Be sure to apply the grease on the inside and outside of the washers guys.
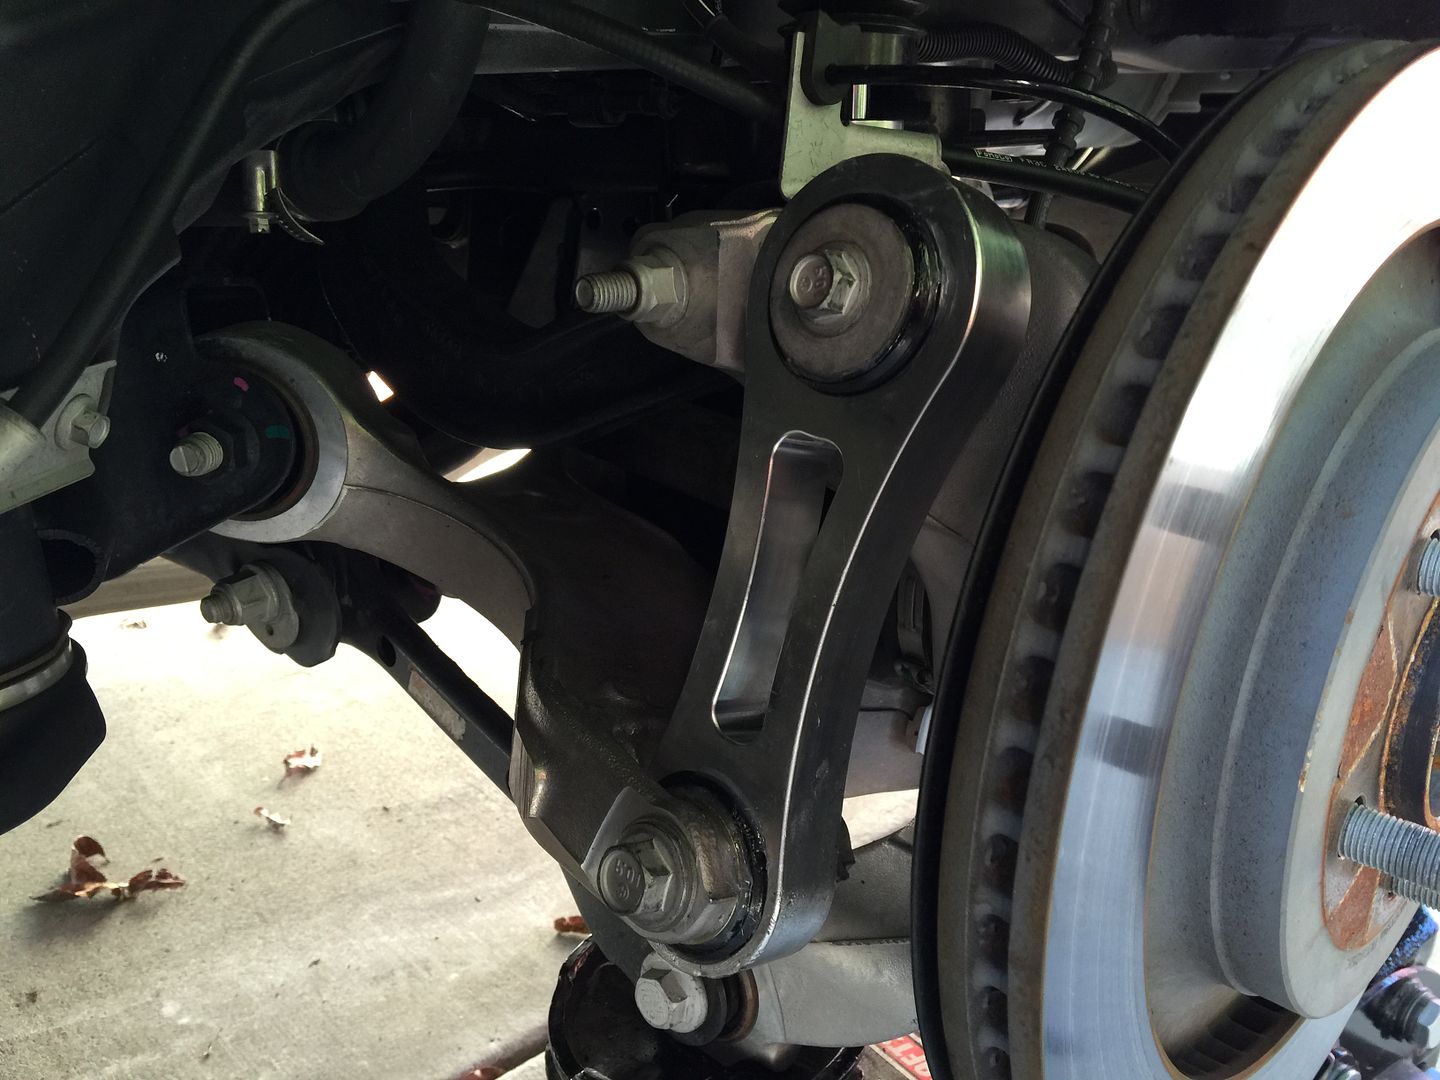
The vertical link will take a bit of persuasion to get into alignment with the bottom hole. This is when the 2nd beer comes in, and where the rubber mallet comes in handy.
Gently massage the vertical link into place, and be sure that you fully seat the upper bushing into the recess before torquing the 15 bolt to 76 ft/lbs and the 18mm bolt to 129 ft/lbs.
Repeat the process for the other side and installation is complete!
With the rear on jackstands, pull out the Steeda Vertical Links and inspect your parts.
To insure that the lower control arm doesn't move when removing the OEM vertical link, place a jack under the rear knuckle where the toe link is mounted. Just enough to support the weight.
Remove the 18mm bolt from the bottom of the OEM vertical link.
Remove the 15mm bolt from the top of the vertical link and be sure to grab the retaining nut off the back of this bolt.
Moderate use of man muscle will be needed to wrestle the OEM vertical link from the grasp of the Lower Control Arm. A screw driver will also help as pry tool.
Obligatory pic of our flimsy lady link next to the man link that is the Steeda Billet Aluminum Vertical Link.
Sure these will get your ass down to the store to pick up some milk, but if you have higher demands for your car, than this upgrade is a must.
Now you wanna rip open one of the packs of Energy Suspension Grease and cream pie those bushings!!
Be sure to apply the grease on the inside and outside of the washers guys.
The vertical link will take a bit of persuasion to get into alignment with the bottom hole. This is when the 2nd beer comes in, and where the rubber mallet comes in handy.
Gently massage the vertical link into place, and be sure that you fully seat the upper bushing into the recess before torquing the 15 bolt to 76 ft/lbs and the 18mm bolt to 129 ft/lbs.
Repeat the process for the other side and installation is complete!
Sponsored
Last edited: